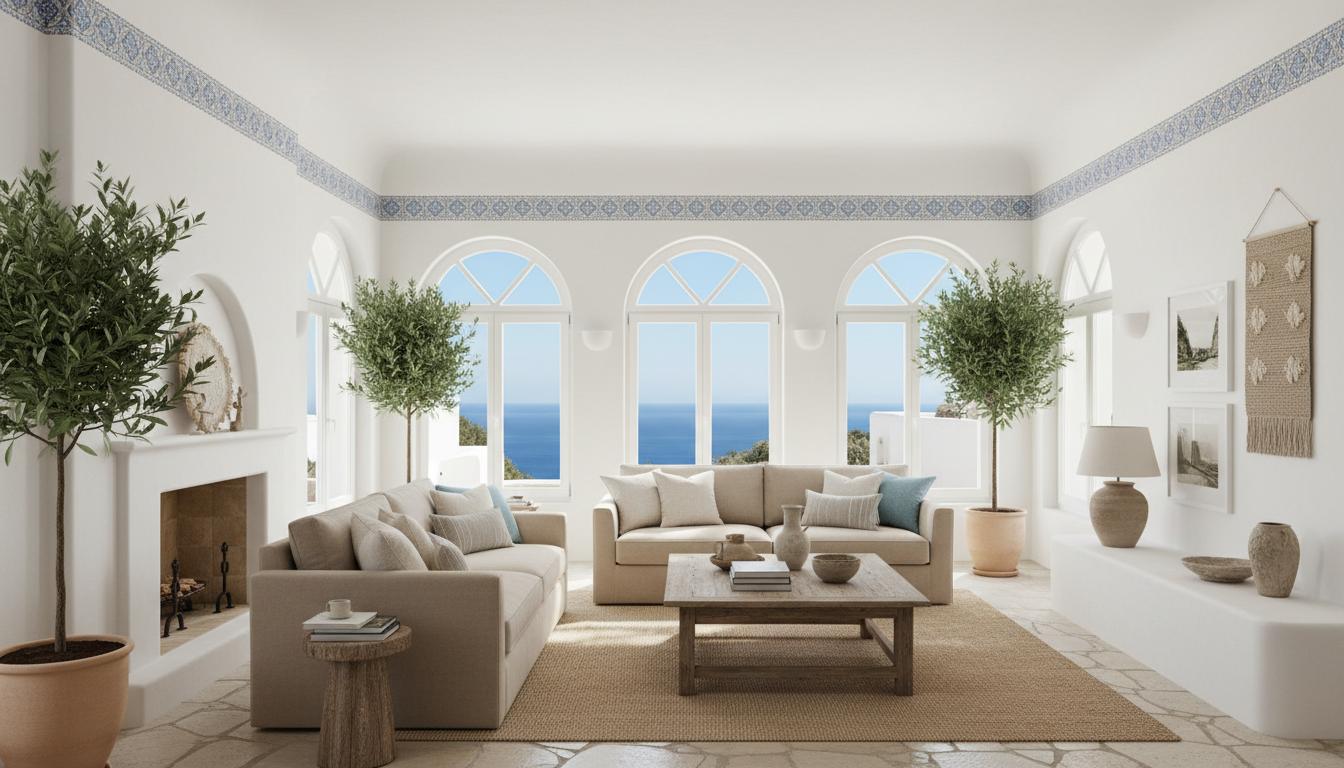
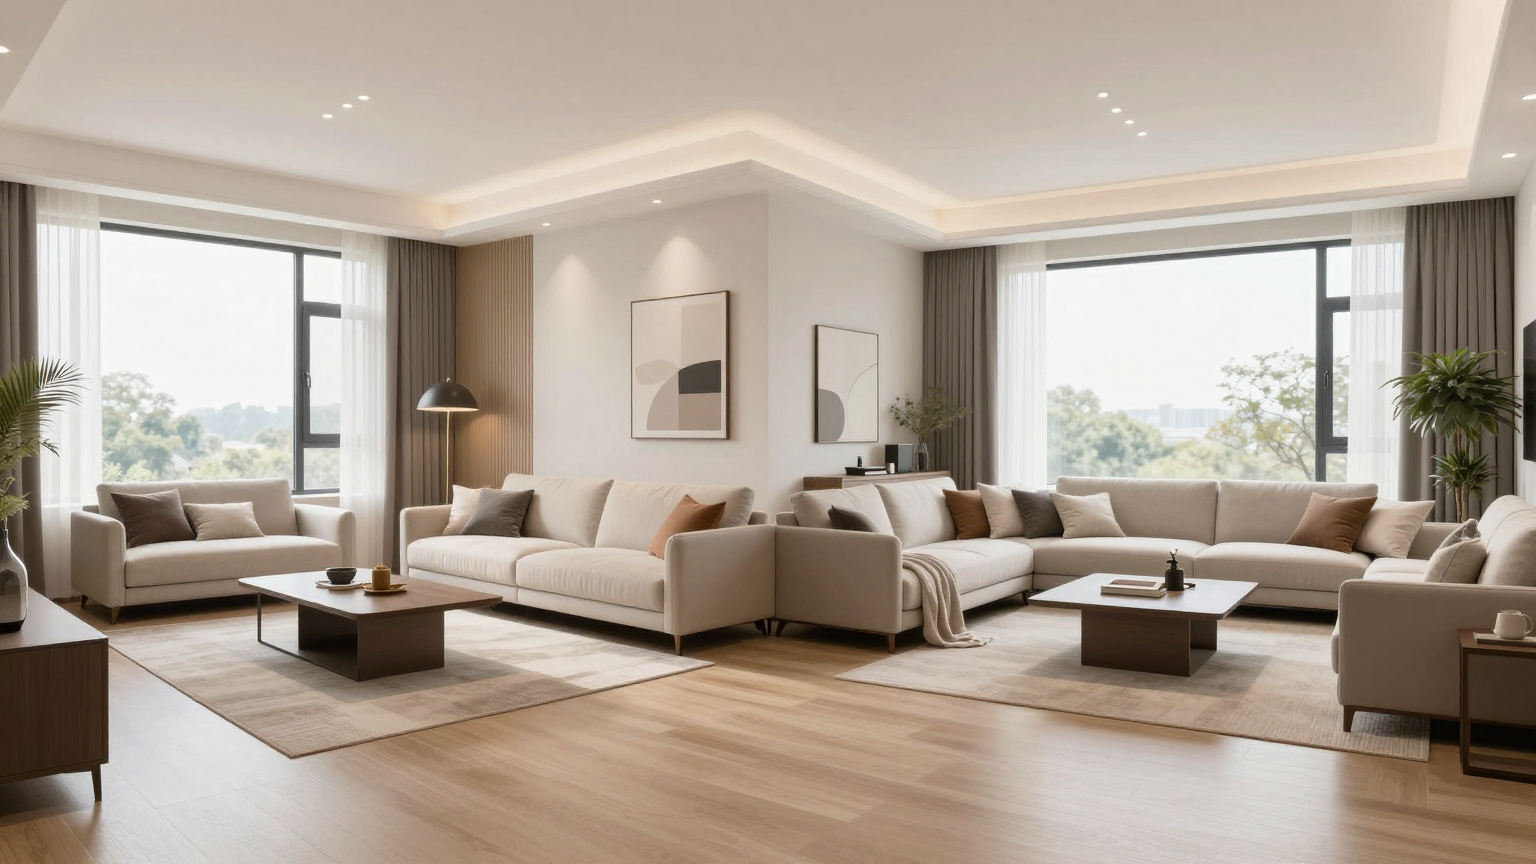
How to Redesign a Room from One Photo with AI

A single room photo is enough to start testing layouts, styles, furniture updates, and even walkthrough concepts. This guide explains how to get better results from the first upload.
What AI room redesign can and cannot do
AI is excellent for fast concept visualization, but it is not a replacement for measured construction documents. Use it to evaluate style, layout direction, furniture, and mood before spending time or money on deeper planning.
Step 1: Take a clear room photo
Use daylight where possible, avoid heavy motion blur, and include walls, floor, and major furniture. Wider shots help the AI understand circulation and room boundaries.
Step 2: Choose a style and room goal
Decide whether you are testing a full redesign, virtual staging direction, or a more precise object update with Magic Brush. This makes it easier to compare outputs instead of generating random variation.
Step 3: Refine and present
Once you have a strong concept, use Magic Brush for local edits or turn the result into a walkthrough concept to better understand the room in motion.
Key Takeaways
Start with a Better Photo
A clearer photo means better structure retention, lighting interpretation, and material suggestions.
Generate Multiple Directions
Compare several styles before deciding which mood or room function you want to pursue.
Refine the Result
Use Magic Brush for local edits and walkthrough generation for a stronger presentation of the final concept.
Frequently Asked Questions
Do I need a special camera to redesign a room with AI?
No. A clear phone photo is usually enough as long as the room is visible and reasonably well lit.
Can one photo be enough for virtual staging too?
Yes. A single listing photo can be enough to test furnishing direction, decor style, and overall room mood.